Fullstack Github Prover Tutorial
This guide demonstrates how to use vlayer's Web Prover API in a fullstack Next.js application, verifying GitHub commits to both public and private repositories. A live demo of the implementation is available here.
Prerequisites
- Node.js 20+
- vlayer Web Prover API credentials
Installation
git clone https://github.com/vlayer-xyz/github-contribution-verifier.git && npm installConfiguration
Create a .env.local file with your vlayer API credentials:
WEB_PROVER_API_SECRET=your_api_secretStart the development server:
npm run devUsage
-
Enter a GitHub API contributors URL
The URL follows this format:
https://api.github.com/repos/{owner}/{repo}/contributorsReplace
{owner}with the repository owner's GitHub username and{repo}with the repository name. The rest of the URL structure remains the same for all GitHub repositories.For private repositories, provide a GitHub Personal Access Token.
Example:
https://api.github.com/repos/vlayer-xyz/github-contribution-verifier/contributors -
Enter the GitHub username that you want to prove commits for.
-
Click "Prove Contributions" to generate a cryptographic proof
-
Click "Verify Proof" to verify your contributions
Architecture Overview
The application follows a three-tier architecture:
- Frontend (Client) - React components that collect user input and display results
- API Routes (Server) - Next.js API routes that proxy requests to vlayer's Web Prover API
- vlayer Web Prover - The cryptographic proving and verification service
┌─────────────┐      ┌─────────────────┐      ┌──────────────────┐
│   Browser   │ ───> │  Next.js API    │ ───> │  vlayer Web      │
│  (Client)   │ <─── │  Routes         │ <─── │  Prover API      │
└─────────────┘      └─────────────────┘      └──────────────────┘
The Prove API Route
The prove endpoint generates a cryptographic proof that authenticates web data from a specified URL. View the complete implementation at app/api/prove/route.ts.
Key Components
1. Timeout Configuration
export const maxDuration = 160;Vercel's default timeout is 10 seconds. Since proof generation can take time, we extend this to handle larger GitHub repositories.
2. Request Handling
The endpoint accepts a POST request with:
url- The GitHub API URL to proveheaders(optional) - HTTP headers to include (e.g., authentication tokens)
const requestBody = {
  url: body.url,
  headers: body.headers || [
    "User-Agent: Mozilla/5.0 (Macintosh; Intel Mac OS X 10_15_7) AppleWebKit/537.36",
    "Accept: application/vnd.github+json"
  ]
};
Headers Matter: The User-Agent and Accept headers ensure GitHub treats the request as a legitimate browser request and returns JSON data.
3. vlayer API Call
const response = await fetch('https://web-prover.production.vlayer.xyz/api/v2.0', {
  method: 'POST',
  headers: {
    'Content-Type': 'application/json',
    'Authorization': 'Bearer ' + process.env.WEB_PROVER_API_SECRET,
  },
  body: JSON.stringify(requestBody),
});
Authentication: The vlayer API requires:
Authorization- Bearer token with your API secret
4. Response Format
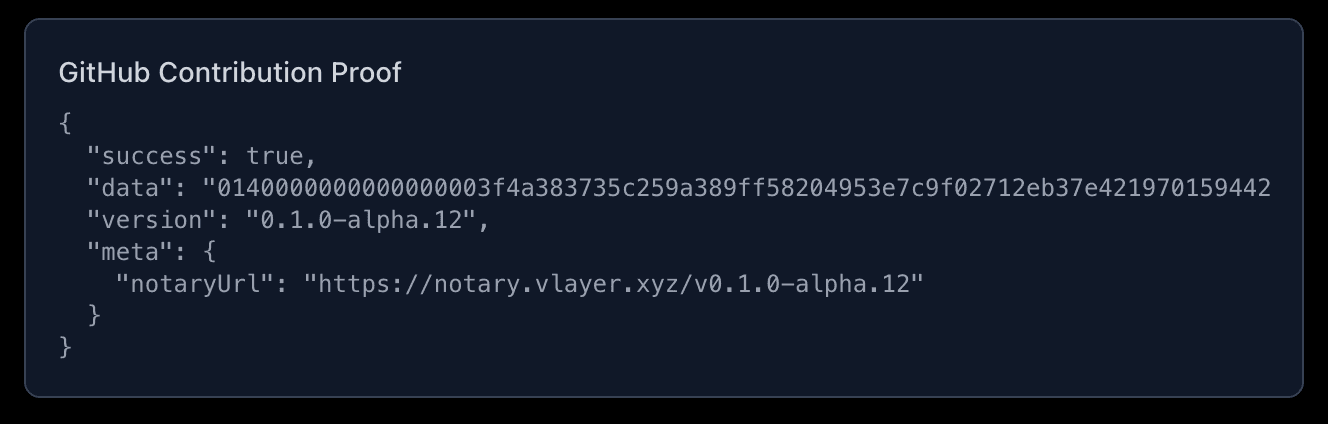
The vlayer Prove API returns a presentation object. See the POST /prove documentation for the complete response format.
This presentation object is what you'll pass to the verify endpoint.
The Verify API Route
The verify endpoint validates a presentation and confirms the authenticity of the proven data. View the complete implementation at app/api/verify/route.ts.
Key Components
1. Request Handling
The endpoint accepts the entire presentation object from the prove step as the request body.
2. vlayer API Call
const response = await fetch('https://web-prover.production.vlayer.xyz/api/v2.0/verify', {
  method: 'POST',
  headers: {
    'Authorization': 'Bearer ' + process.env.WEB_PROVER_API_SECRET,
    'Content-Type': 'application/json',
  },
  body: JSON.stringify(body),
  signal: AbortSignal.timeout(85000) // Abort before Vercel timeout
});
Authentication: Uses the same vlayer API credential as the prove endpoint:
Authorization- Bearer token with your API secret
3. Response Format
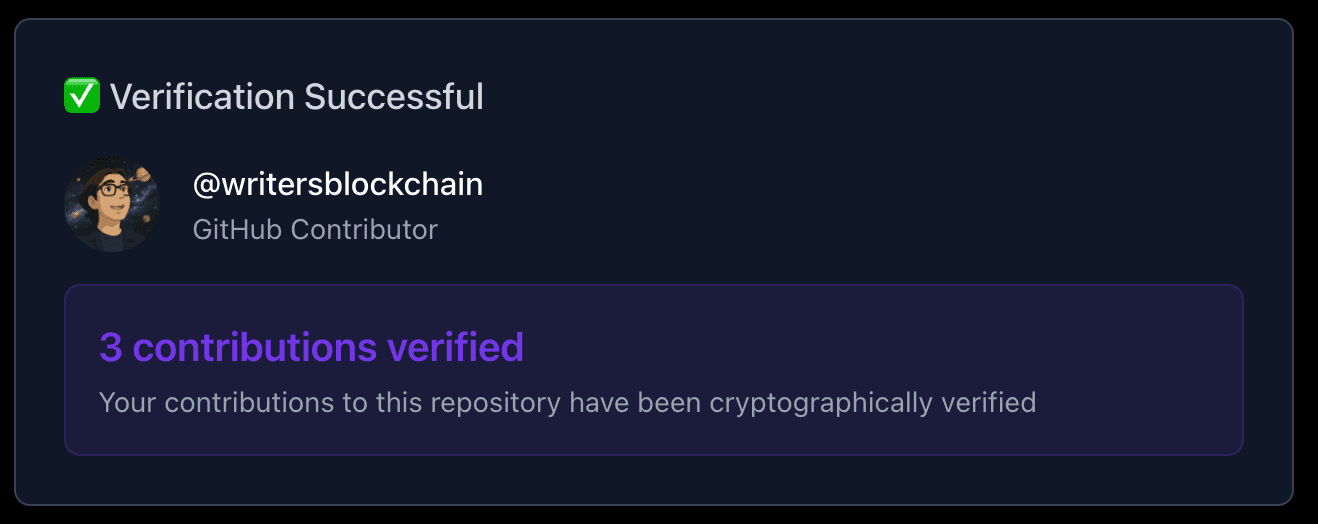
The verify endpoint returns the verification result. See the POST /verify documentation for the complete response format.
Frontend Integration
The frontend ties everything together by orchestrating the prove and verify workflow. View the complete implementation at app/page.tsx.
The Two-Step Flow
Step 1: Generate Proof
const response = await fetch('/api/prove', {
  method: 'POST',
  headers: {
    'Content-Type': 'application/json',
  },
  body: JSON.stringify({
    url: url.trim(),
    headers: [
      "User-Agent: Mozilla/5.0...",
      "Accept: application/vnd.github+json",
      ...(githubToken.trim() ? [`Authorization: Bearer ${githubToken.trim()}`] : [])
    ]
  })
});

const data = await response.json();
setPresentation(data); // Store for verification step
Key Points:
- The presentation is stored in React state after proving
- For private repos, include the GitHub token in the headers array
- The User-Agent ensures GitHub accepts the request
Step 2: Verify Proof
const response = await fetch('/api/verify', {
  method: 'POST',
  headers: {
    'Content-Type': 'application/json',
  },
  body: JSON.stringify(presentation) // Send entire presentation
});

const data = await response.json();
Key Points:
- The entire presentation object is sent to verify
- The server validates the cryptographic proof
- The response includes the verified GitHub contributor data
Parsing Verified Data
Once verified, extract the contribution data:
const contributors = JSON.parse(data.response.body);
const userContributions = contributors.find((contributor: any) =>
  contributor.login.toLowerCase() === username.trim().toLowerCase()
);

if (userContributions) {
  contributionData = {
    username: userContributions.login,
    total: userContributions.contributions,
    avatar: userContributions.avatar_url
  };
}
Key Concepts
1. Cryptographic Proofs
vlayer's Web Prover uses webproofs to authenticate web data without revealing sensitive information. When you prove a URL:
- The prover fetches data from the URL
- Generates a cryptographic proof that the data is authentic
- Returns both the data and the proof
- Anyone can verify the proof without re-fetching the data
2. Private Repository Support
For private repositories, include a GitHub Personal Access Token in the headers:
headers: [
  "User-Agent: Mozilla/5.0...",
  "Accept: application/vnd.github+json",
  "Authorization: Bearer YOUR_GITHUB_TOKEN"
]
The token is used during proof generation but is not stored in the proof. Verifiers don't need access to your private repos to confirm the proof's validity.
Next Steps
Now that you understand the architecture, you can:
- Extend the prover - Prove other GitHub endpoints (commits, pull requests, issues)
- Add on-chain verification - Deploy a smart contract that verifies proofs on-chain
- Build custom applications - Use vlayer proofs for:
- Contributor badges and NFTs
- Access control based on contributions
- Reputation systems
- Airdrop eligibility