Quick Start Guide
vlayer dashboard
Get started at the vlayer dashboard. This is where you manage your account, monitor proof usage, and access your API keys for server-side proofs and ZK proofs.
Free plan
We're launching with a free plan that includes:
- Unlimited web proofs
- 1,000 ZK proof vgas units per month
The free trial is valid for one month, after which your allowance expires. There is no self-serve paid upgrade at launch — once you reach your limit, contact our sales team to continue.
API keys
All requests to the vlayer Web Prover API are authenticated using a single API key issued from the vlayer dashboard.
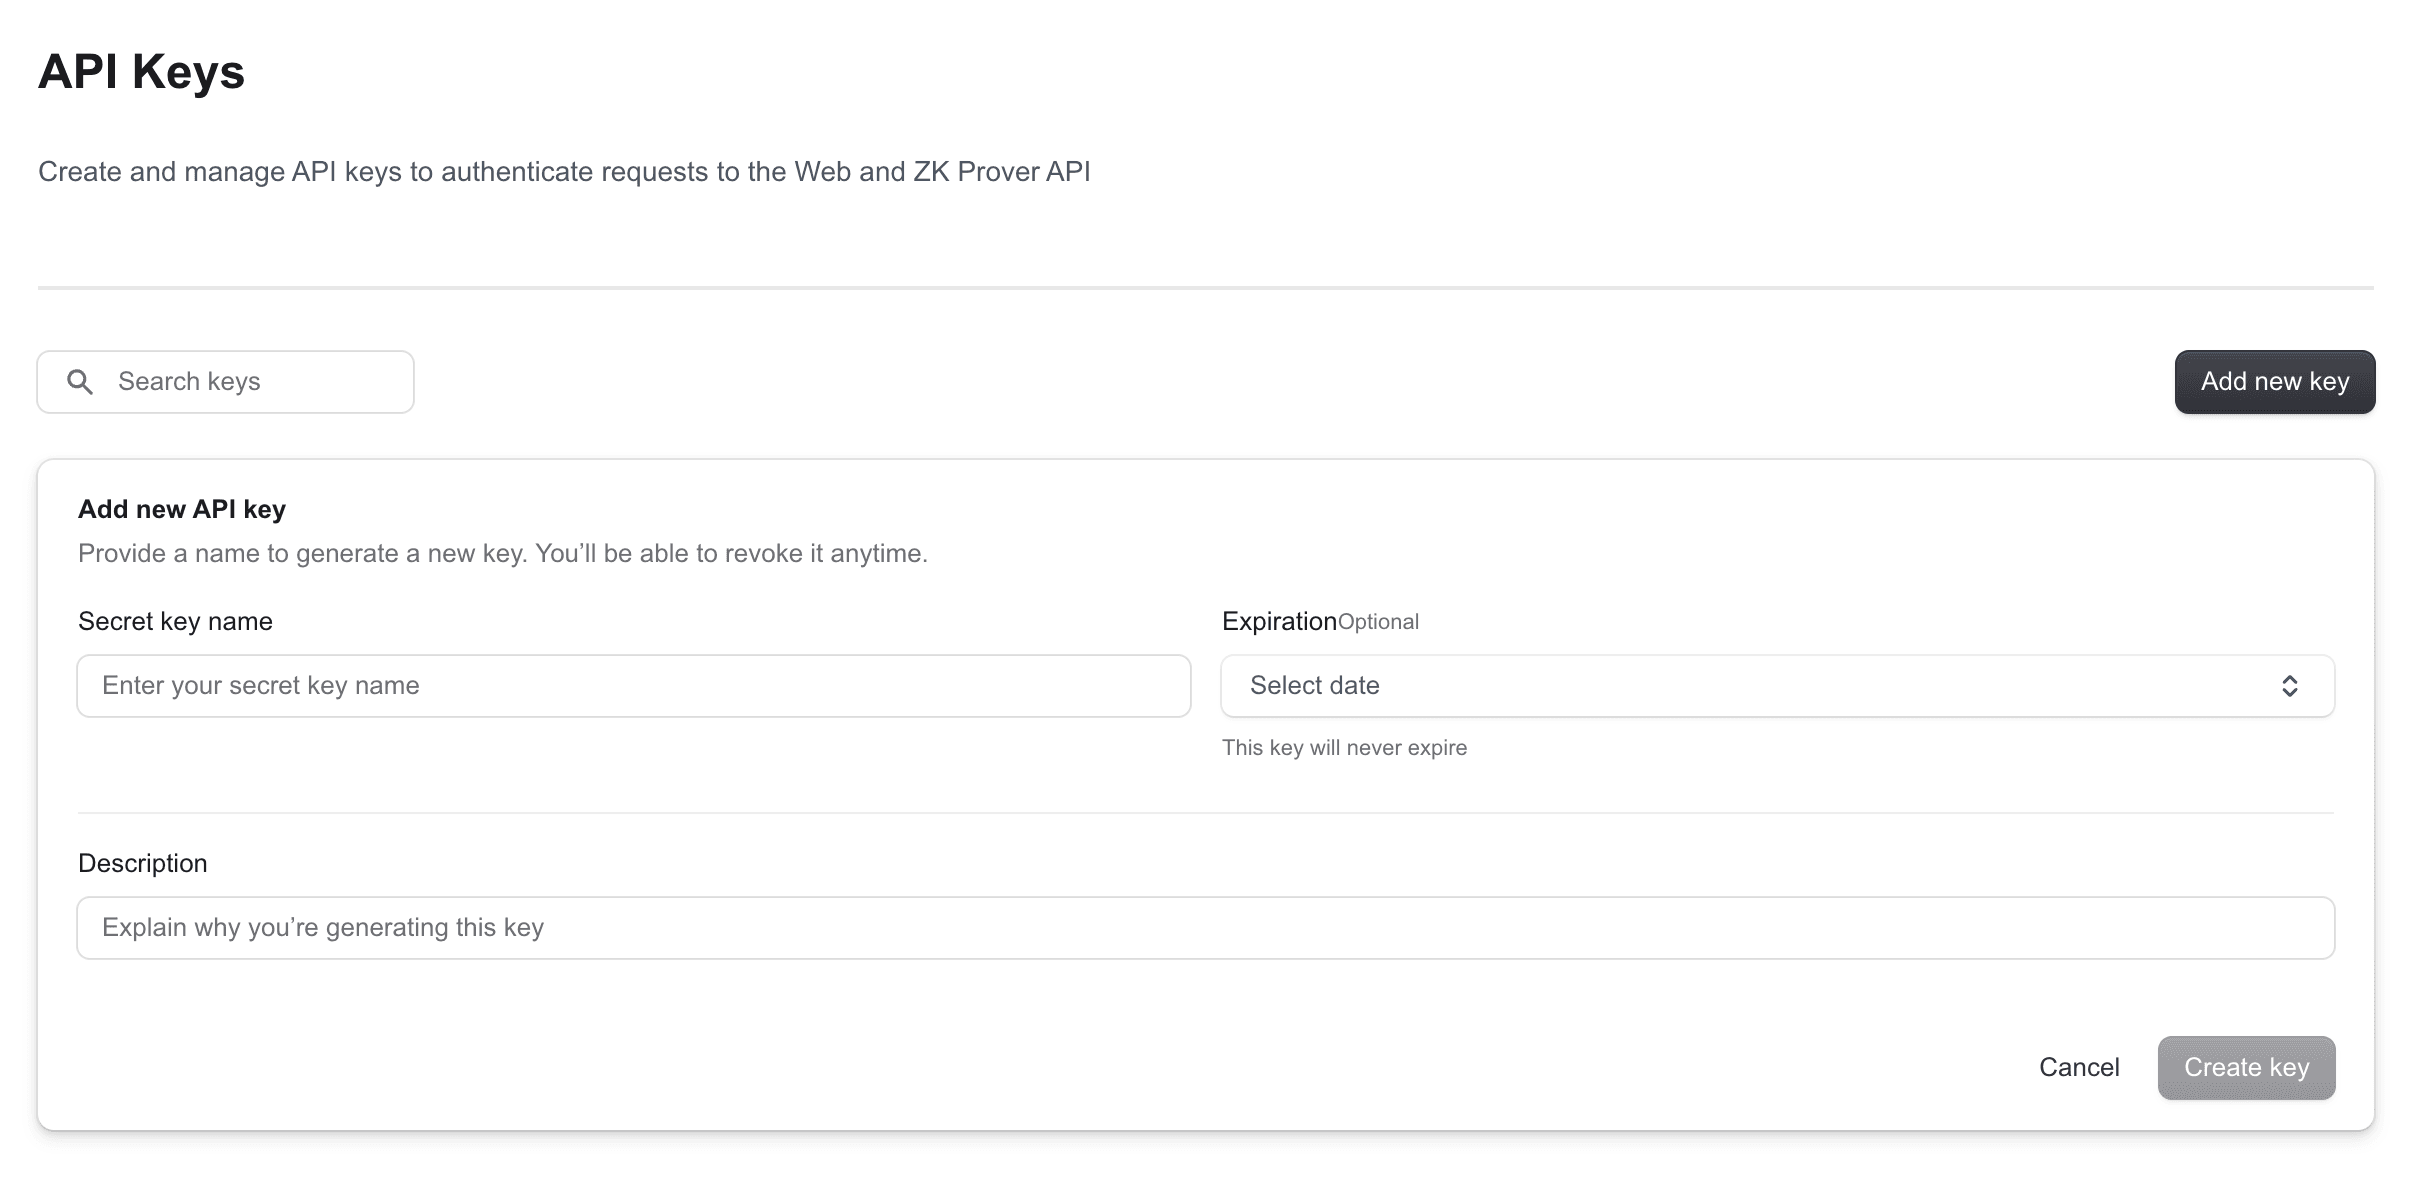
Creating API keys
- Sign in to the vlayer dashboard
- Navigate to the API Keys section
- Click Add new key and give it a name
- Copy the key value — it is only shown once
Using API keys
Add your key to a .env.local file in your project:
WEB_PROVER_API_KEY=ak_your_key_valueThen pass it as a Bearer token in every request to the vlayer API:
const headers = {
  'Content-Type': 'application/json',
  'Authorization': `Bearer ${process.env.WEB_PROVER_API_KEY}`,
};
Example use case
Prove a Binance price feed (server-side)
Cryptographically prove the current ETH/USDC exchange info from Binance's public API:
// app/api/prove/route.ts
const response = await fetch('https://web-prover.production.vlayer.xyz/api/v2.0', {
  method: 'POST',
  headers: {
    'Content-Type': 'application/json',
    'Authorization': `Bearer ${process.env.WEB_PROVER_API_KEY}`,
  },
  body: JSON.stringify({
    url: 'https://data-api.binance.vision/api/v3/exchangeInfo?symbol=ETHUSDC',
    headers: [],
  }),
});
Never include your API key in client-side (browser) code. Always call the vlayer API from a server-side route to keep your key private.